How can we help?

Most Popular
Already a Snap Partner?
Call your Customer Success Manager (CSM) to enable eCommerce settings for your account. You may also contact us via email at devsupport@snapfinance.com.
New to Snap?
Complete this application to become a Snap Partner.
This tool provides developers with an end-to-end experience to explore Snap features in action. Users can interact with multiple use cases, review sample code snippets, and understand how Snap SDKs and plugins integrate into real-world systems. This environment enables hands on learning and faster adoption without impacting production workflows.
In order to integrate Snap Checkout 3.0 you must select an environment and provide your Client ID and Secret.
If Client ID and Secret are not provided, then default credentials will be used.
The JWT token will be generated automatically.
1. Background
In certain, Snap Finance takes responsibility for collecting and remitting sales taxes. These are referred to as Snap Taxes by Snap States (STBS). Because of this, merchants must carefully handle the taxAmount field to avoid discrepancies in their order records and funding.
2. When to Handle taxAmount
During checkout, the initial payload you send through the SDK includes a taxAmount.
After the customer signs the agreement, Snap may zero out or modify the taxAmount in the final application.
To ensure your records match what Snap processes, you must reconcile the values after the agreement is signed.
3. Implementation Flow
Step 1: Use the onApproved Event
The onApproved event is triggered immediately after the customer signs the agreement.
onApproved: function(data, actions) {
// custom logic here, call get application endpoint to retrieve the latest taxAmount value.
}
Step 2: Call the Get Application Endpoint
Inside onApproved, call the Get Application API using the applicationId from the event. This ensures you have the final, authoritative values for:
totalAmount
taxAmount
Other order-related fields
4. Handling taxAmount
Snap will cover the taxes or certain states so if you send a taxAmount value on those states we will remove it and these rules are automatically and running on our SDK so you don’t need to add any extra validations, or rules.
The taxAmount may be removed (zeroed out) in the response from Get Application.
In this case, update your internal order record to either: Keep the original taxAmount separately (for reporting), OR Zero out taxAmount in your system to stay consistent with Snap’s final payload.
If the application is from a non-STBS state: The merchant is responsible for collecting/remitting taxes. The taxAmount should remain unchanged and consistent between your system and Snap’s.
5. Example Payload (before vs after agreement)
Initial Payload (sent from SDK):
{
"cartInformation": {
"currencyCode": "USD",
"taxAmount": "15.00",
"shippingAmount": "20.00",
"totalAmount": "170.99",
"discountAmount": "15.00",
"orderId": "test001",
"items": [
{
"price": "150.99",
"itemId": "test001",
"description": "test001",
"sku": "test001",
"quantity": 1,
"leasable": true
}
]
}
}
Post-Agreement Payload (from Get Application, STBS state):
{
"cartInformation": {
"currencyCode": "USD",
"taxAmount": "0.00",
"shippingAmount": "20.00",
"totalAmount": "155.99",
"discountAmount": "15.00",
"orderId": "test001"
}
}
Notice how Snap has zeroed out the taxAmount and adjusted totalAmount accordingly.
6. Best Practices
Always validate final amounts via Get Application in onApproved.
Store both initial values and final Snap-approved values for audit purposes.
By following this guide, you will ensure a smooth user experience, correct tax handling, and alignment between their records and Snap’s final application data.
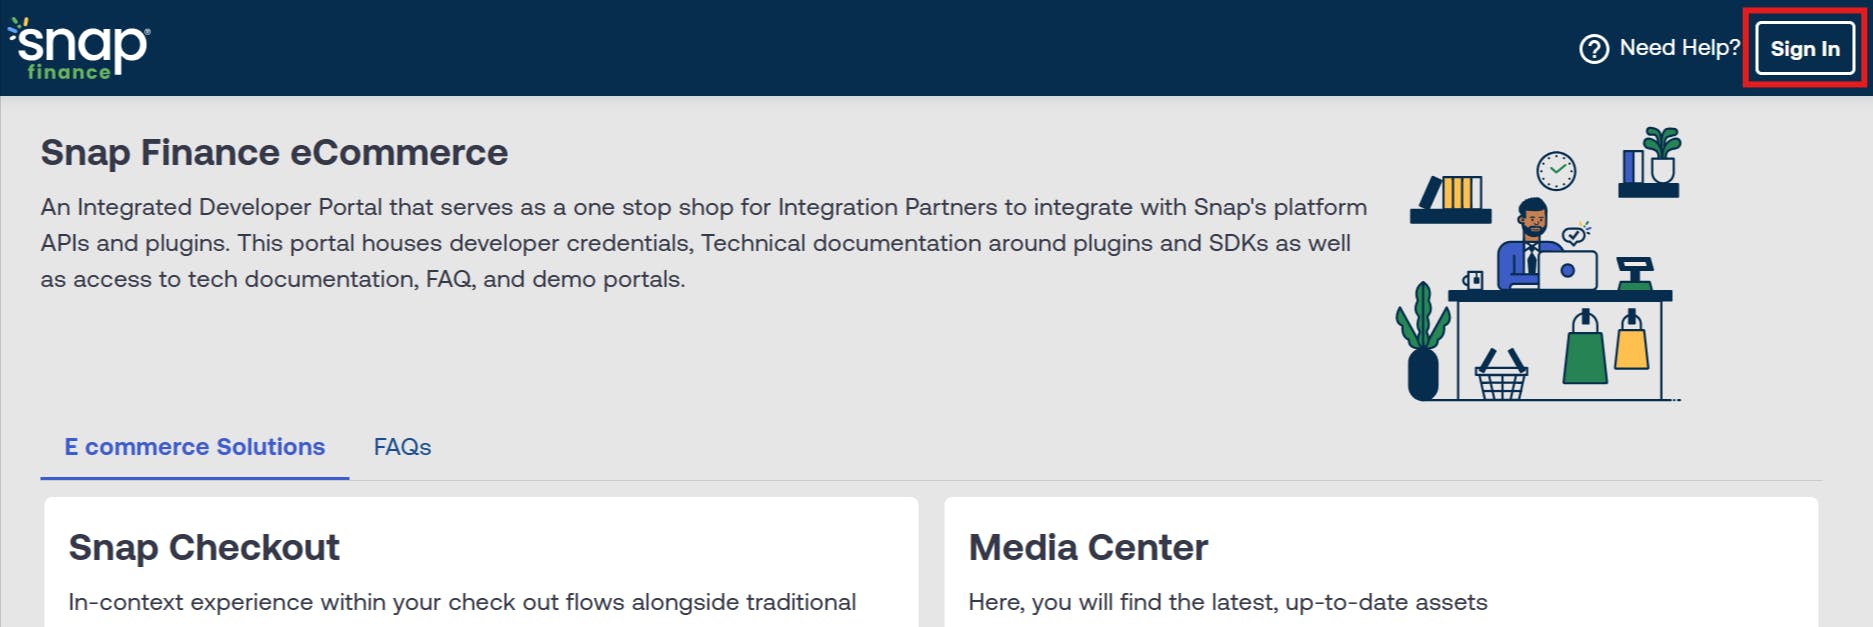
1.1 Go to Developer portal Sign In to get your API Keys.
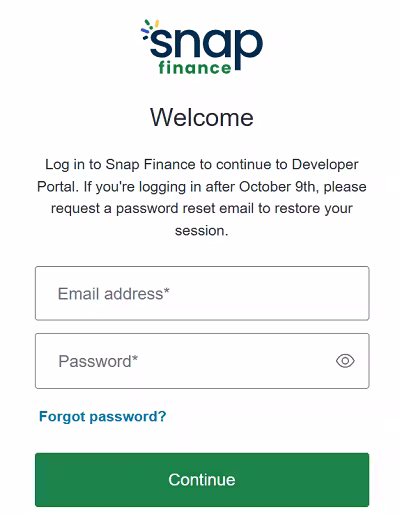
1.2 If you are a new user click on the "Forgot Password" link to generate a new password. Or enter your email and password.
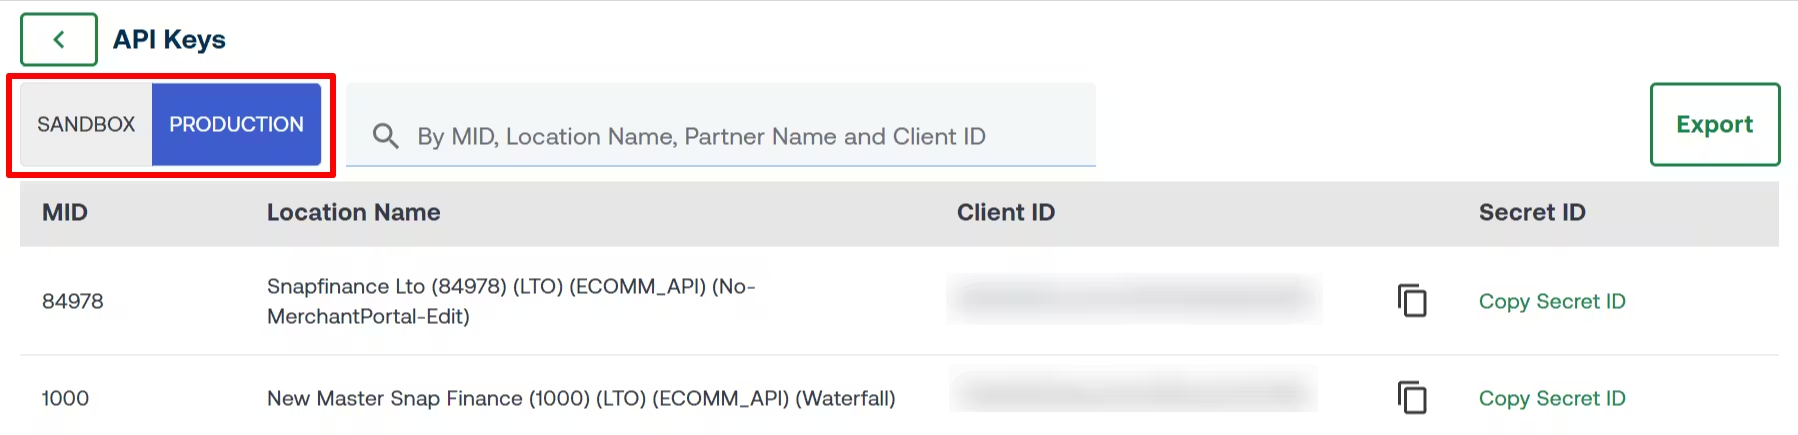
1.3 Copy and paste the Production Client ID and Secret Key in your app configuration page.

Access API Credentials: In your Developer Portal account, go to "API Keys" under settings to get your API credentials (Client ID and Secret ID).
Install Payment Gateway Plugin: If using a platform like Shopify, WooCommerce, BigCommerce or Magento, install a Snapfinance plugin or payment gateway.
Custom Website: If you are using custom website then you can refer the link: Snapfinance Developer Portal.
Configure Snap Settings: Enter your API credentials and enable the checkout plugin.
Test Payments: Run a test transaction to ensure everything works correctly.
Snap Checkout API is a RESTful API designed to help developers integrate Snap Finance’s payment options into their eCommerce platforms. It supports JSON responses and is built for seamless integration into your existing website or application.
Snap Finance provides SDKs and plugins for popular eCommerce platforms such as Shopify, WooCommerce, Magento, and BigCommerce. These tools help simplify the integration process across various storefronts.
Link: Plug-Ins
Common error responses include 400 (Bad Request), 401 (Unauthorized), and 500 (Internal Server Error). Each error type comes with a specific status message to help diagnose the issue. Check the API specs portal for detailed error descriptions and how to handle them.
Platform API Link: Platform API Documentation
You can use the Payment Calculator by providing parameters such as amount, and payment frequency,. The API will return the calculated payment details based on these inputs, Snap Finance | Perfect Credit Not Required
Full API documentation, including request examples and response schemas, is available on current API specs portal Platform API Documentation
If you need assistance with the integration process, you can contact Snap Finance's dedicated technical support team at devsupport@snapfinance.com.
Full documentation, including compliance checklist, and implementation differences is available on View Documentation.
1.1 Navigate to the Developer Portal and Sign In to access your API keys.
1.2 If you’re a new user, click the "Forgot password" link to create a password—or simply enter your registered email and password to log in.
1.3 After logging in, select the Environment you wish to use (e.g., Sandbox or Production).
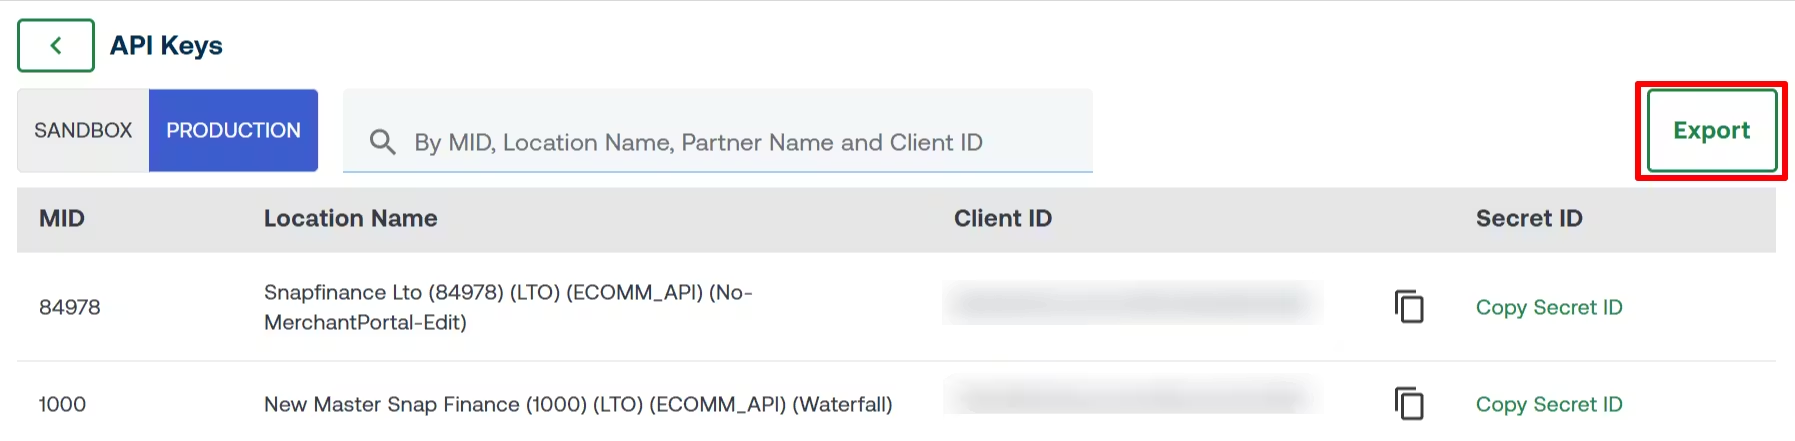
1.4 Click the Export button.
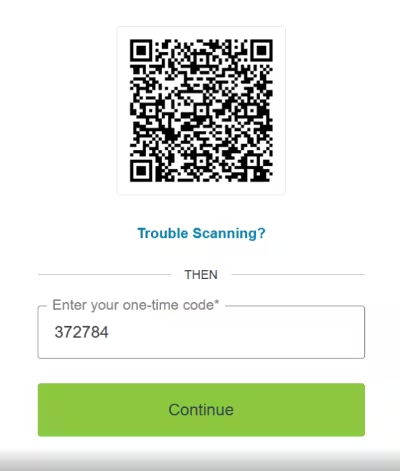
1.5 If this is your first time accessing the keys, you must set up an authenticator app:
Register the authenticator app as prompted.
Scan the QR code using your mobile device.
Retrieve the one-time code generated by the authenticator.
1.6 Enter the one-time code to validate and then download all your API keys and their associated secrets.
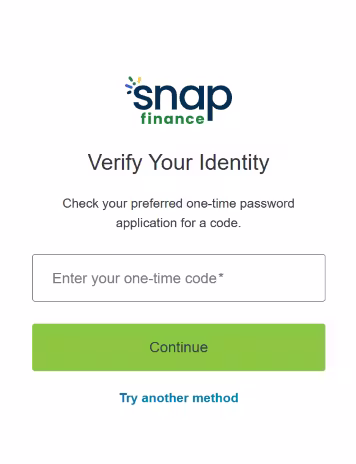
1.7 For subsequent logins, you’ll be taken directly to the two-factor authentication screen, where you can enter your one-time code to verify your identity (as shown in the screenshot).
If you did not find what you were looking for, please click on Need Help?