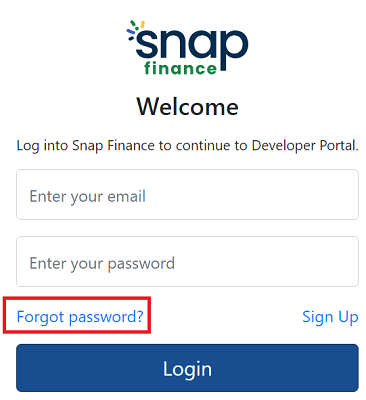
- 1.1 Go to Developer portal Sign In to get your API Keys.
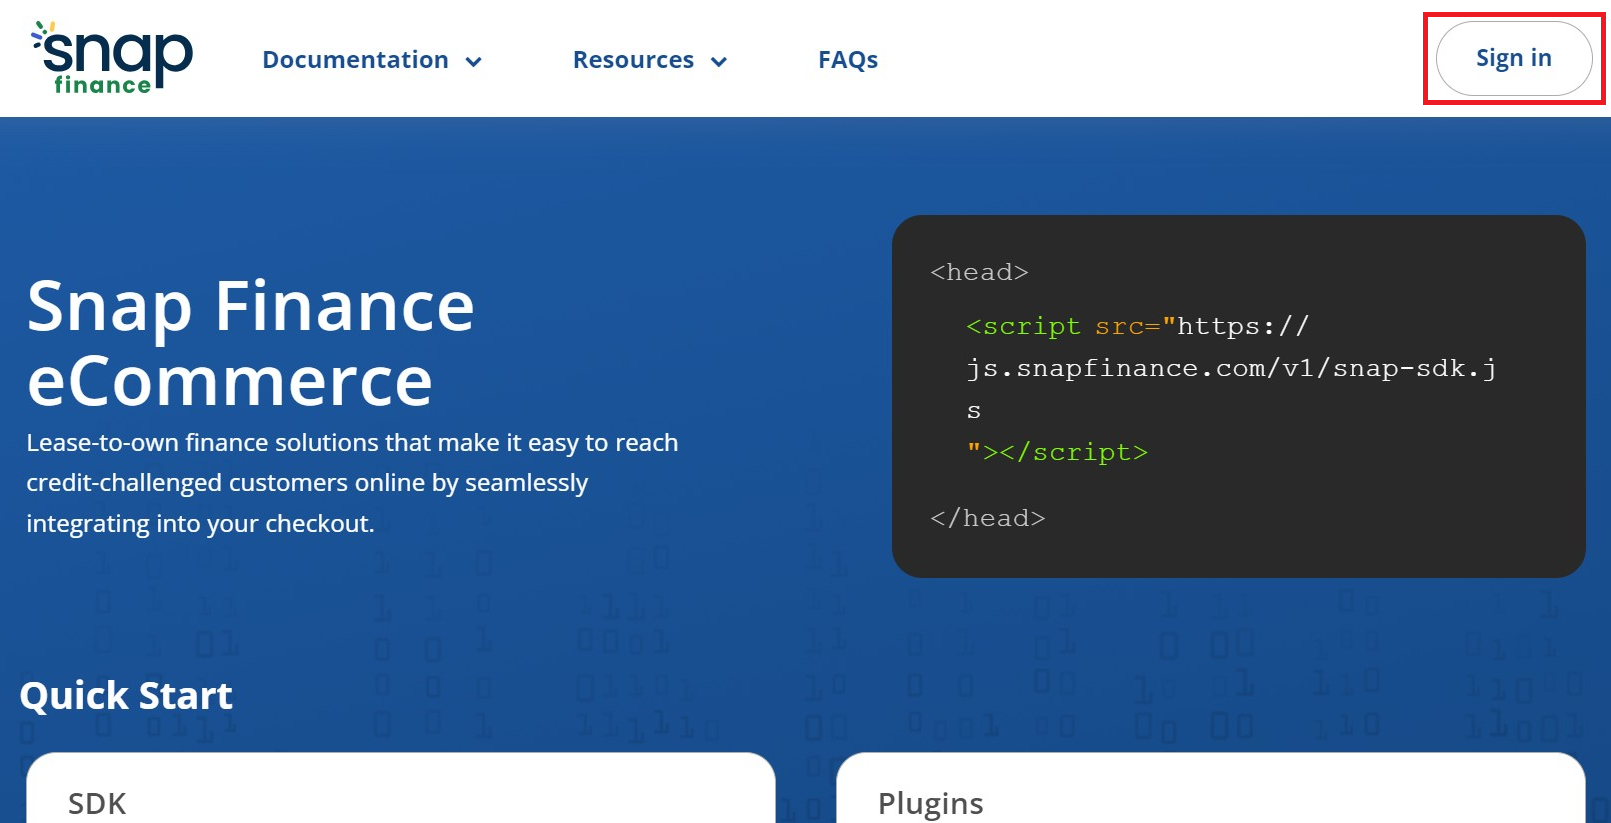
- 1.2 If you are a new user click on the "Forgot Password" link to generate a new password. Or enter your email and password.
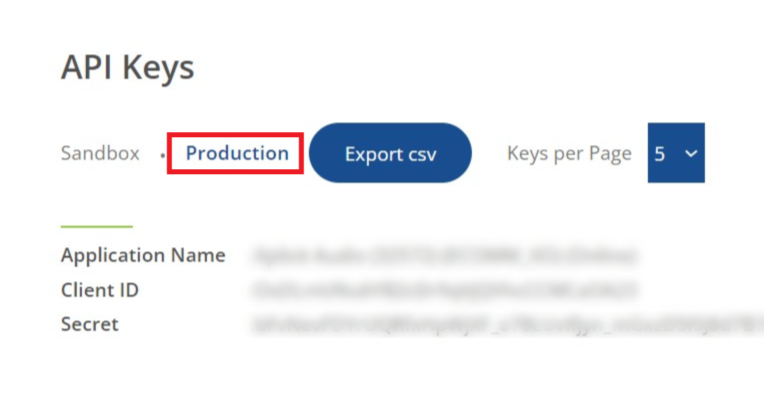
- 1.3 Copy and paste the Production Client ID and Secret Key in your app configuration page.
1. How to obtain API Keys?
- 2.1. Click Here to Download the Demo SDK sample code.
- 2.2. Import the folder into your server. (Features section will show how to run this sample code in your localhost)
- 2.3. Enter your API keys (Client ID and Client Secret).
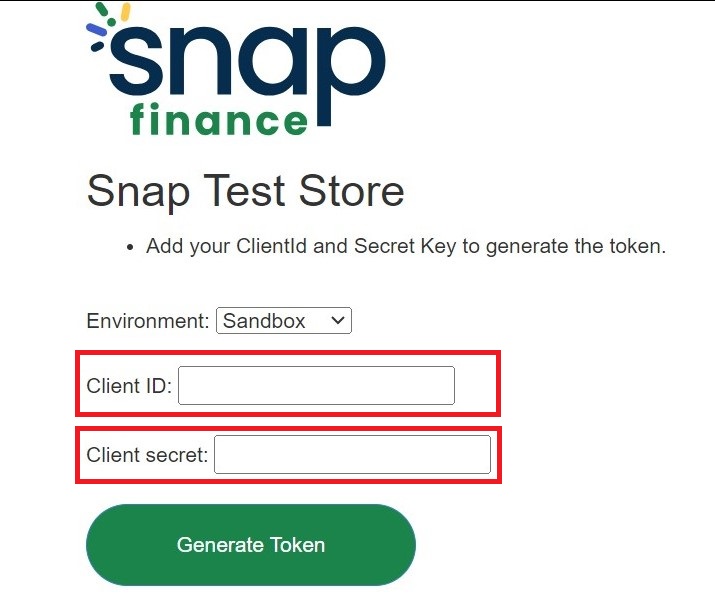
- 2.4. Generate a token using the Demo SDK sample code.
- 2.5. The "As Low As", "Get Approved", and "Checkout" flows will now be available for testing.
2. Installation and Setup
- 3.1. Select Sandbox environment and Enter Sandbox API Keys and Click Generate Token.
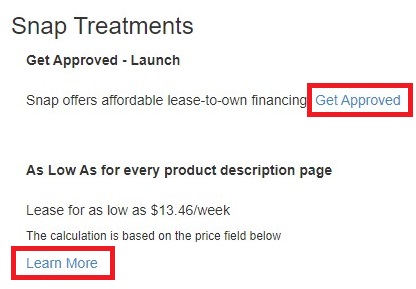
- 3.2. To test Get Approved / As Low As flow Click Get Approved / Learn More button
-
3.3. Snap SDK modal window will open.
- You should use a valid phone number to obtain the verification code.
- Also, no need to select any option from this section "Auto-fill / Test Decision"
- Income needs to be like 2000 or so because that will become the approval amount
- DOB for approval should be 07/07/1977 and for other scenarios kindly see below link.
- 3.4. To test Checkout flow click Proceed Checkout and then click Pay with Snap button
3. Testing
Features
How to Import SDK Script?
Import the script in the <head> section of your website, using the code snippet below. The script should load before your document body loads. The same script is used for both testing and production.
How to add Button Container?
Add an element to your website to contain the Snap Checkout button.
How to Set Up Transaction?
Obtain a reference to your shopping cart data. Format the transaction in JSON as shown. The transaction should confirm to this specification. You pass this transaction to the launchCheckout action.
<script>
var transaction = {
    orderld:'12345',
    totalAmount: 1025,
    taxAmount: 25,
    products: [{
        productId:' AMC47',
        quantity: 4,
        description: 'Item dose',
        price: 250
    }],
    customer: {
        firstName: 'John',
        lastName: 'Doe',
        email: 'test@snapfinance.com',
        homeAddress: {
            streetAddress: 'Somewhere St',
            city: 'Racoon City',
            state: 'UT',
            zipcode: '999999'
             }
        }
};
</script>
How to initialize Snap?
Initialize Snap with the web token you obtained for testing.
Replace this with the production token when you go live.
How to add Snap Checkout Button?
Add this script (inline) to your checkout page, passing in the access token and transaction. This code renders the button to your page which, when clicked, launches the Snap Checkout window.
When the transaction is approved by Snap, the onApproved method will be invoked, passing in the applicationId as a property on the data object. (i.e. data.applicationId). Store this value for use in Order Completion.
<script>
  snap.checkoutButton({
    onInit: function(data, actions) {
    // Optionally validate
      the transaction before checkout
    return
    actions .validateTransaction(tran
    saction);
    },
  onClick: function(data, actions) {
    // This action MUST be called to
      launch the checkout process.
    return
    actions.launchCheckout(transaction);
    },
onApproved:function(data, actions) {
    // Store the approved
      applicationId for use in calling
      endpoint to place the order.
     localStorage.setItem('snapApplic
     ationId’,data.applicationId);
     },
onDenied:function(data, actions) {
     console.log(`Application $
     {data.applicationId) was
     denied.`);
     },
onNotification:function(data,
actions) {
     console.log(`Informational
     message to merchant site from
     snap checkout: ${data}`);
     },
onError:function(data, actions) {
     console.log(`Error message to
     merchant site from snap
     checkout process: ${data}`);
   },
     }).render();
</script>
How to do Radio Button Implementation? (optional)
For merchant checkout flows that employ radio buttons, Snap provides branding marks to displayed alongside the radio select option.
Include those marks alongside your radio button by adding a <div> element to your page with an id value of snap-checkout-mark. Then separately, add an inline script element for configuration of that mark, as shown.
The snapCheckoutMark configuration supports specification of a ‘light’ or ‘dark’ graphic, and a height between 25 and 55 pixels. The width of the Snap mark adjusts relative to the height.
Approval
If financing is approved, an Approved event is sent to your site with the associated applicationId. The merchant can store the returned applicationId value for later use in completing the transaction.
On customer application approval, The Snap Checkout button may function as a standalone button or may be used in connection with the Snap Checkout Mark, which provides a Snap authorized graphic for use as a radio selection option.
Denial
If financing is denied, a Denied event is sent to your site with the associated applicationId.
Errors
The merchant site may also monitor notification and error events sent from the process. Error messages and runtime errors return to the merchant site if the token or the transaction is invalid.
